Crimson Moon Rage Build: Enraged Gear and Boons
Get Enraged from four directions at once, and turn the anger into armour.
Featured loadout · Crimson Moon Forge
Open this exact setup in the Loadout Builder. Swap gear, compare base defence totals, check set bonuses and Boon synergies, then share your version. No account needed.
Rage is a state with a duration, so the problem it sets is uptime rather than damage. This build takes four unconnected ways to gain it — sprinting, light attacks, kills and drinking — extends how long it lasts by a quarter, and spends the state on resistances instead of aggression.
The build
Weapons
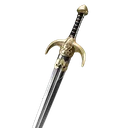
- Gildenarch's Glory
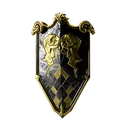
- Shield of the Ram's Glory
- Empty
Armour
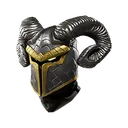
- Ram Helmet
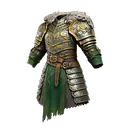
- Ram Cuirass
- Ram Gauntlets
- Ram Greaves
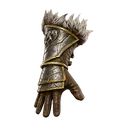
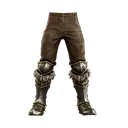
Trinkets & quick slots
- The Fury Stone
- Torc of the Fallen
- Crusader's Might Elixir
- Elixir of Glory

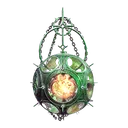
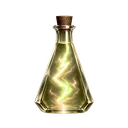

Angel Form
Weapon Arts — bound to the weapons above

Boons — picked up at Nexus Gates, unless a trinket guarantees one
- Blessed MomentumWhen you hit an enemy with a Light Attack while Enraged, you gain Rage.
- Rising TempoAfter 3 hits on a single target within 3 seconds, you gain Rage.
- FrenzyOn killing an Elite enemy, you gain Rage.
- Consecrated DraughtConsuming a Flask grants Rage (3 stacks).
Why these choices
Effects are quoted from the database, so you can check each claim on the page it comes from.
- The Ram helmet grants Enduring Rage innately: +25% Enraged Duration. Everything below is worth a quarter more because of one piece of armour.
- The Ram legs grant Momentum Charge innately — a Sprint Attack hit gives Rage (2 stacks) — so closing the distance already starts the clock.
- The Fury Stone guarantees Hardened Fury: while Enraged you gain 20% bonus to all Resistances. That is what the uptime buys, and it is why this build can hold ground.
- Blessed Momentum gives Rage for hitting an Enraged enemy with a Light Attack, and Rising Tempo gives it after 3 hits on one target within 3 seconds. Both extend a state you are already in rather than starting it.
- Torc of the Fallen guarantees Trial of the Fallen — Rage on a kill — and Frenzy adds Rage on killing an Elite. Consecrated Draught covers the gap by granting 3 stacks for drinking a Flask.
How to play this build
- Start with the Ram legs' sprint-hit Rage trigger, then use the listed duration and resistance effects to benefit while Enraged.
- On a lone target, prioritize triggers that do not need a kill. Kill-based Rage works differently in a boss arena than in a room of smaller enemies.
- Treat Flask-triggered Rage as a benefit when you need the Flask, rather than a reason to spend recovery with no health or mana need.
Where to start and what to substitute
- If you lack the Ram legs, select another available Rage trigger before relying on Hardened Fury. Resistance while Enraged does nothing until you enter that state.
- Keep a defensive armor alternative if the full set is unavailable; preserve a reliable trigger and the payoff before chasing every listed piece.
Find equipment through exploration and mission rewards, then purify recovered gear at Sanctus Clypeus to make it available for future loadouts. Blacksmith upgrades are permanent. See gear and Purification for the progression steps.
- Gildenarch's Glory — Catalogue unlock: General Valahk - Nor.
- Shield of the Ram's Glory — No specific acquisition location is confirmed in this catalogue.
When to change the plan
Rage on kills can lapse during a single-target fight. Blessed Momentum's text requires an Enraged enemy; it should not be treated as proof that your own Rage automatically sustains itself.
Make it yours
Nothing here is fixed. There are no classes in Crimson Moon, so every slot above is a choice you can change — and half a build is decided during the hunt anyway, at the Nexus Gates. Post what you end up running.