Forge Your Nephilim
Crimson Moon Forge (CMF) is an unofficial companion for Crimson Moon: plan gear, combine Boons, compare weapons and build a loadout for your next hunt through Gildenarch.
Unofficial Crimson Moon loadouts and builds — a free Loadout Builder, a full gear database and guides for weapons, Boons, Angels and bosses.
Database
Browse the databaseEight sections, each one a full table rather than a summary: what a thing does, what it works with, and where it comes from.
 WeaponsEvery weapon and shield, the Art each carries.
 Weapon ArtsThe bound abilities, and what each one does.
 Armor SetsSets, their sources and their lore.
 TrinketsEach trinket and the Boon it guarantees.
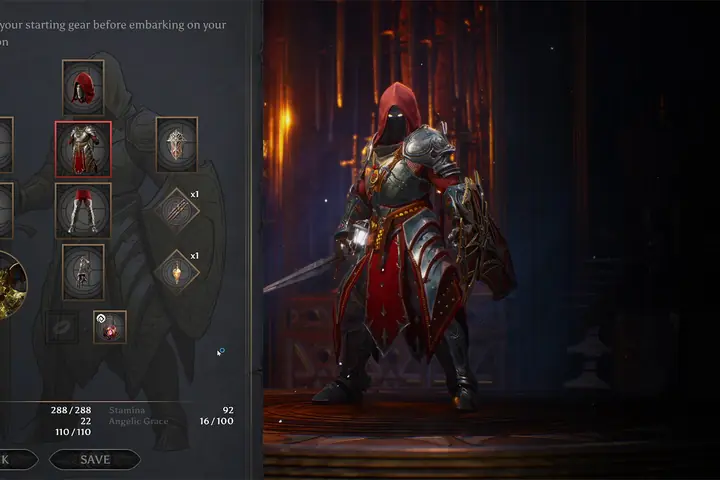 BoonsRun modifiers, with their exact effect text.
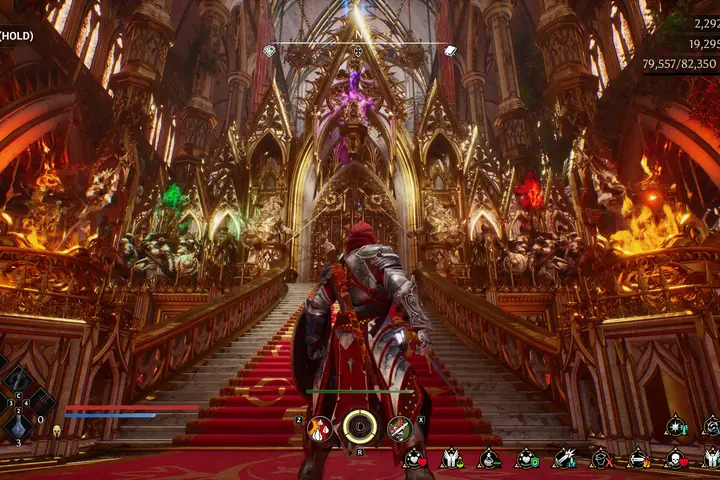 Status EffectsWhat each one does, and what applies it.
 AngelsThe Angel Forms and the Sigils that choose them.
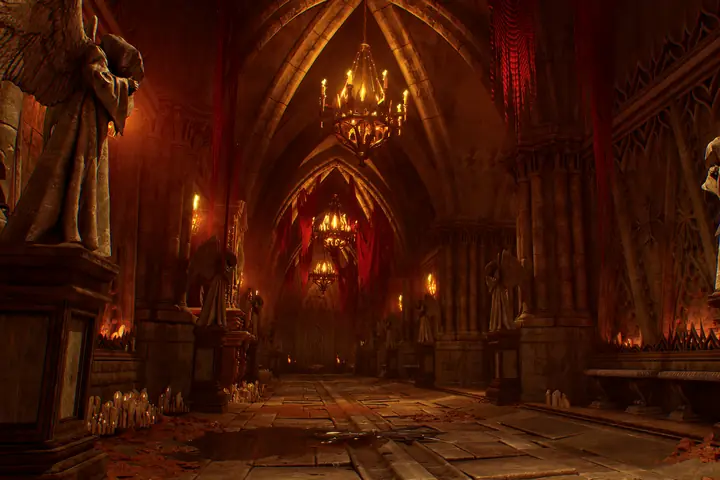 WardsThe regions of Gildenarch and what is in them.
Loadout Builder
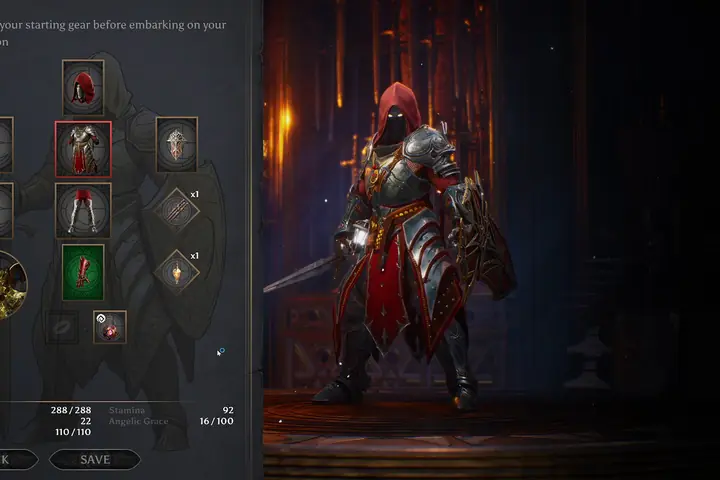
Open the Loadout BuilderNine gear slots, the Boons you mean to take and your Angel Form. Pick a weapon and its Weapon Art appears; pick a trinket and the Boon it guarantees appears.
Guides
All guidesWritten to be read before you play, not during. Each one says what it is for in its first sentence.
 Crimson Moon beginner's guide8 min readWhat kind of game this actually is, how a run works, the two currencies, and the eight things worth knowing before your first hunt.
 How builds work6 min readNine gear slots, Weapon Arts, Boons and an Angel Form — the four systems that replace character classes, and how they fit together.
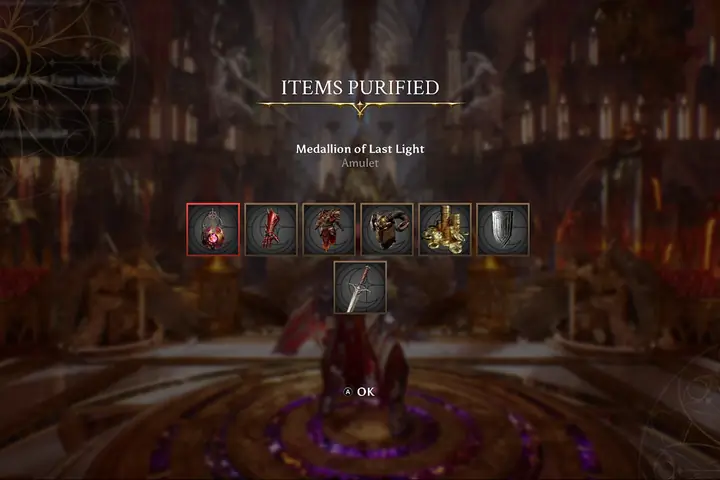
 How runs work5 min readThree missions then a boss, Abraxas Stones, Purification, and exactly what you keep when a run ends.
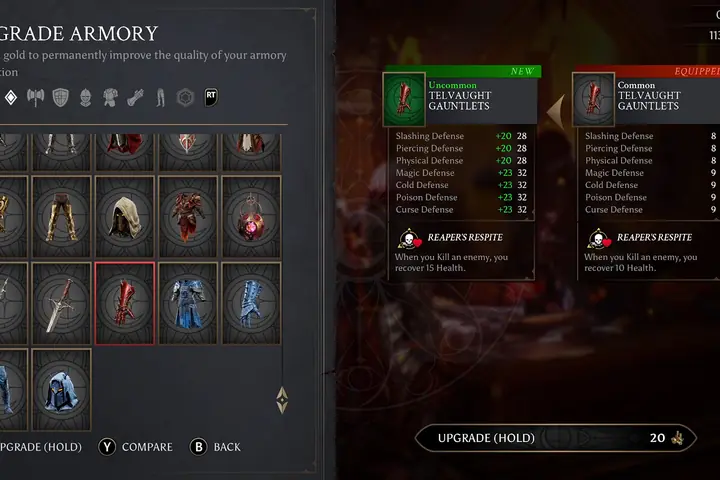
- Gear and Purification5 min readWhy the Rare sword you carried home is sitting in your Collection at Common, and the only thing that actually raises it.
- Level unlocks6 min readEvery level to 15: the stats, when the Sunder Angel and the Librarian open, when Epic upgrades unlock, and when drop quality rises.
Crimson Moon Loadouts
All Crimson Moon loadouts5 synergy builds, each one assembled so the gear, the Weapon Art and the Boons all pull the same way. They are a starting point, not a tier list — there is no combat data published yet to rank anything by.
- Speedy Frost8 of 9 slots · 4 BoonsNever stop moving. Sprint into things to freeze them, and get the stamina back for doing it.
- Burner8 of 9 slots · 4 BoonsStand inside a burning aura twice the size it should be and let the fire spread itself.
- Bloodletter8 of 9 slots · 4 BoonsOne button. Every Boon in it fires on a Light Attack, so the fast combo is also the whole engine.
- Plague Warden8 of 9 slots · 4 BoonsPoison the ground twice over, then walk through it while it cannot hurt you.
- Wrathbound8 of 9 slots · 4 BoonsGet Enraged from four directions at once, and turn the anger into armour.
Bosses
All bossesTen bosses across four missions and a finale, each named with the place it is fought.

- Prologue
- Demon BrutePrologue
- Mission 1
- The WardenThe Forsaken Streets
- TyrigonRamshorn Keep
- Mission 2
- Cardinal MathiasThe Archspire Cathedral
- General Valahk - NorWall Tower
- Mission 3
- Flesh-Wrought EgregoreElk Grove Academy
- Felwyl, The WitheredMoore Manor
- Mission 4
- E'frae, The Dry Rot KingDefiled Cemetery
- Mahkteah, The Lord of PerditionAncient Chamber
- Final bossFelwyl, The AscendedAegoroth
The names and placements are confirmed against the game’s own files. Their fights are not: no health, phase, resistance or drop figure is published anywhere yet, so none is shown.